
I think we are all looking for an easy yet effective procedure to refresh our face without painful injections or lasers, right? We have determined that those years of basking in the sun have indeed caused some early sun-damaged skin.
My whole philosophy around cosmetics is to make people look like themselves but maybe a few years younger. I am not in the business of changing anyone’s features to the point that it is obvious they have had work done. A simple procedure such as a chemical peel can improve skin texture, lighten or permanently remove sun spots and make your skin glow a little brighter.
Check out these 4 steps to what makes up an effective chemical peel!
RELATED: How Can a Vampire Facial Benefit Your Skin
1. DETERMINE IF A CHEMICAL PEEL IS RIGHT FOR YOUR SKIN
Chemical peels can be performed on all skin types. However, you may want to consider having a test spot done, depending on your level of skin sensitivity. For example, if you break out in hives and/or rashes easily from different products then a chemical peel may not be for you. Furthermore, if you have milia (which are those little white, cyst-like bumps that normally appear around the eyes, nose, or mouth) then a chemical peel may not be for you as it could cause more to appear. The other thing that you need to consider is time, cost, and the fact that your skin may be peeling for a week after each chemical peel. I mean duh, it’s in the name. Generally speaking, you will need 4-6 peels once every 4 weeks to achieve your desired effects.
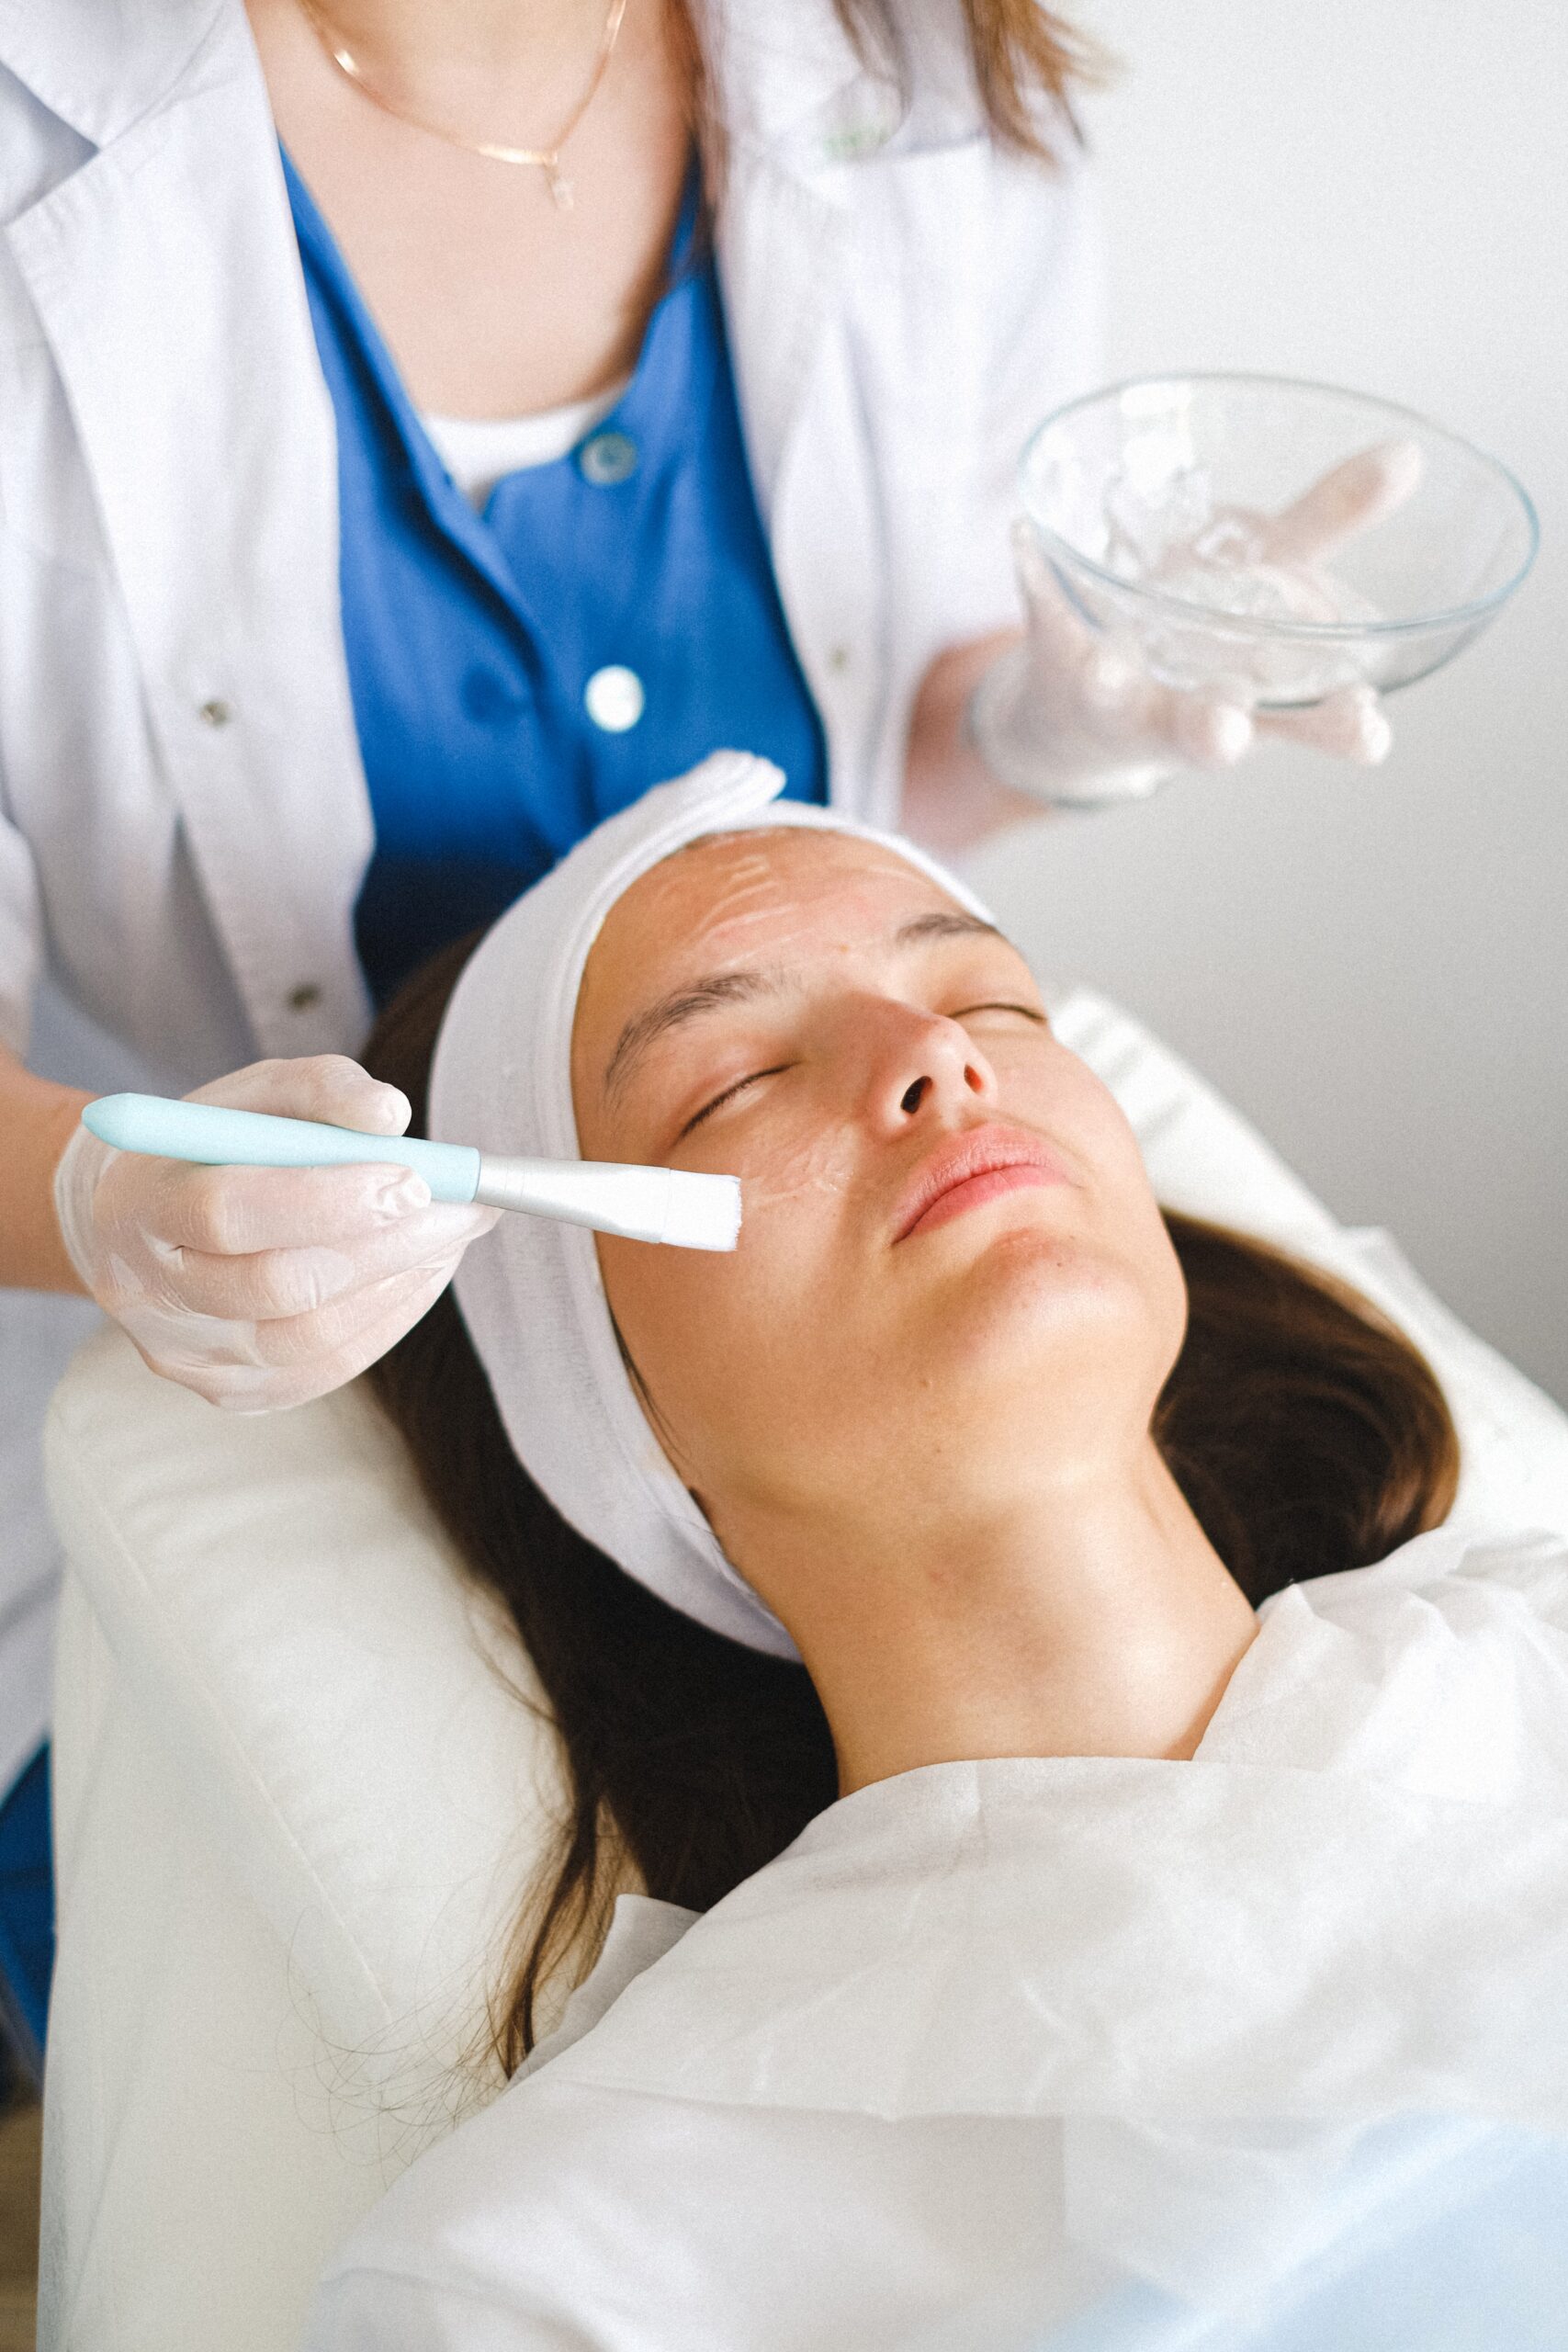
2. PREP YOUR FACE
Great! Now that you have determined a chemical peel is right for you let’s move on to a very important step: prepping the face. It is important that if you are using any topical medications such as hydroquinone or retinoids you discontinue them for about 5 days leading up to the chemical peel. You should arrive to the office with a completely clean face devoid of makeup.
In the office, your face will be wiped again with something to further remove makeup and oil. I typically will use acetone at my office. Scrubbing at specific dark spots with acetone can further improve the effectiveness of the chemical peel. Next, an ointment such as plain Vaseline should be applied to the corners of the eyes, around the creases of the nose, and to the lips to prevent the chemicals from irritating these sensitive areas. Once that is done your face is officially prepped and ready for the chemical peel!
3. APPLYING THE EFFECTIVE CHEMICAL PEEL
There are different depths of chemical peels. I prefer superficial (light) chemical peels as they are less irritating but can still get the job done. This type of chemical peel only affects the top layer of the skin, your epidermis. The two products typically used are salicylic acid and Jessner’s solution. Jessner’s solution is a mixture of 14% resorcinol, 14% salicylic acid, and 14% lactic acid mixed in ethanol).
I give my patients a fan prior to starting the chemical peel as the scent can be a little strong. Also, when applying the peel it can feel like it is burning and patient’s are thankful for a fan at that point. The first agent that is typically applied is salicylic acid. Once that dries, your provider will then apply Jessner’s solution. Of course, it is important your provider avoids the eyes when applying these agents otherwise you will not be too happy. The solutions are known as keratolytic agents. They cause shedding of the skin by disrupting the bonds that hold the skin cells together.
4. AFTERCARE
Once the chemical peel is complete sunscreen should be applied to your face. This step is crucial because even simply going to the car following a chemical peel without sunscreen can lead to worsening of your skin pigmentation. You should not wash your face until the next day. Other important things to avoid for 24 hours are exercise or anything that may induce sweating. The flaking of the skin will likely not start until 72 hours later and then may last 7-10 days. Unless recommended by your provider, you should continue to hold your topical treatments such as any lightening creams or retinoids for another 3-5 days following the chemical peel. It is important not to pick at the flakey skin to try and remove it. All you will need is a gentle cleanser, moisturizer, and sunscreen daily.
Results
An effective chemical peel is a simple way to achieve your desired effects without painful procedures. The results you can typically expect after several consistent superficial chemical peels are skin brightening and smoothing of skin texture and color. Medium and deep chemical peels can even go as far as improving wrinkling and scarring such as from acne scars. Have you had a round of chemical peels? What were you trying to treat and did it work? Comment below with your results!
*Disclaimer: Opinions expressed are solely my own and do not express the views or opinions of my employer. Information on this website is for education and entertainment purposes only. Content is my opinion. It is not substituted for your own doctor’s medical care or advice. One should not make any health or medical-related decisions based in whole or in part on any content on this site. Content is not intended to replace the services of a licensed, trained health professional. Content may not apply to you as an individual. Although I will update my website with current information, this website is not a definitive guide to dermatology.

View comments
+ Leave a comment